LIQUID SCREED Preparation & care Throughout the UK
"Excellent job, would recommend. Peter gave me advise on preparing the area ready for the screed. Turned up on time and left site clean and tidy. 115m2 area done in just a couple of hours. So much better than traditional screed and so level."
A Wileman
Pre Installation Preparation Guide
To ensure that the SLS screed performs at its best we recommend the following be carried out prior to installing underfloor heating and the pouring of the liquid screed:
- All pouring areas are to be weather tight and sealed where required
- Make sure the sub floor is clear of debris and laid flat allowing for the insulation, liquid screed and floor coverings
- Lay insulation in a staggered form ensuring no movement
- Incorporate edging strips where required
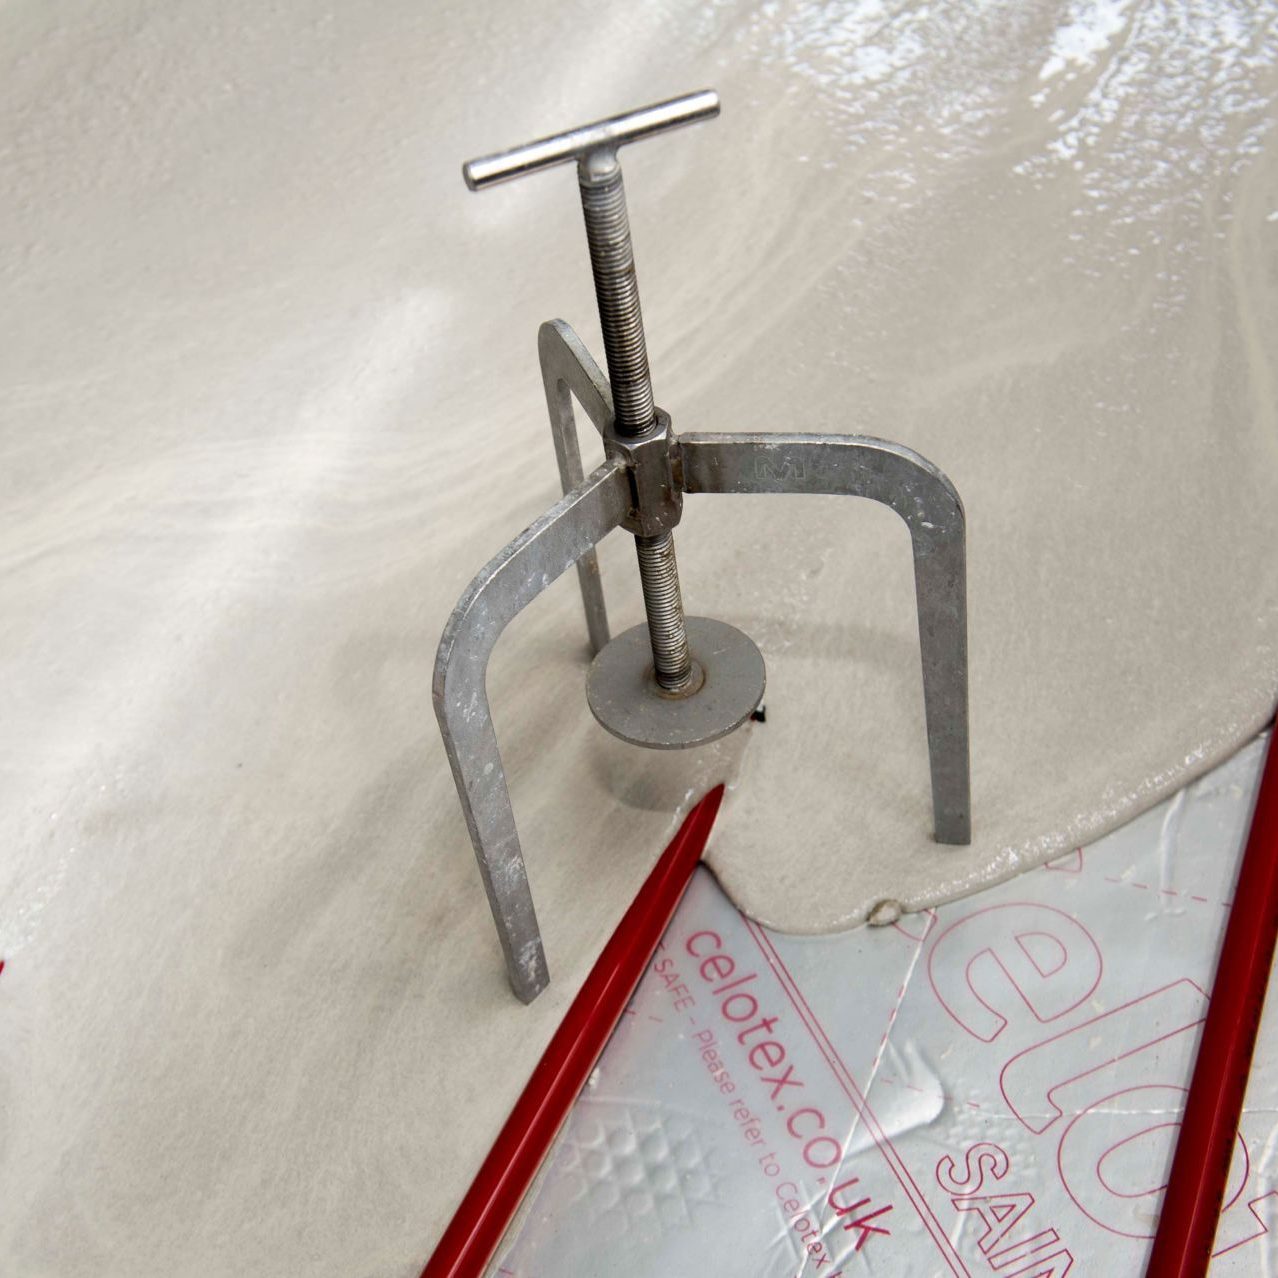
- Lay tanking membrane (500 gauge if possible) on top of the overlapped insulation or if no insulation present lay tanking membrane on top of the concrete slab. (100mm overlaps recommended) and tape to ensure all joints and corners are water tight and no leakages can occur. You can never use to much tape. Also the neater and closer you get the membrane to walls and round corners the closer our screed will finish to the walls, try to avoid leaving air pockets behind or under the membrane.
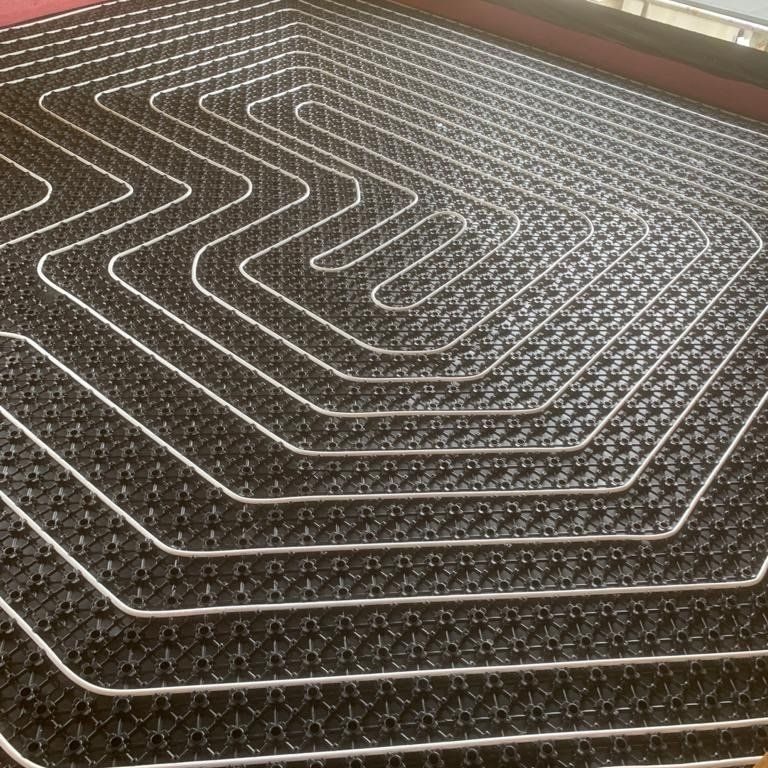
- Securely fix underfloor heating pipes every 300mm and pressure check to ensure no leakage.
Avoid using the egg carton UFH system where possible as the will raise the pipes of the floor and it turn may increase the depth of screed you require. If this is not an option then ensure all edges and overlaps are taped, this will avoid any screed getting under the matting causing it to float. - Make sure areas is again clear and free from debris
Washout area
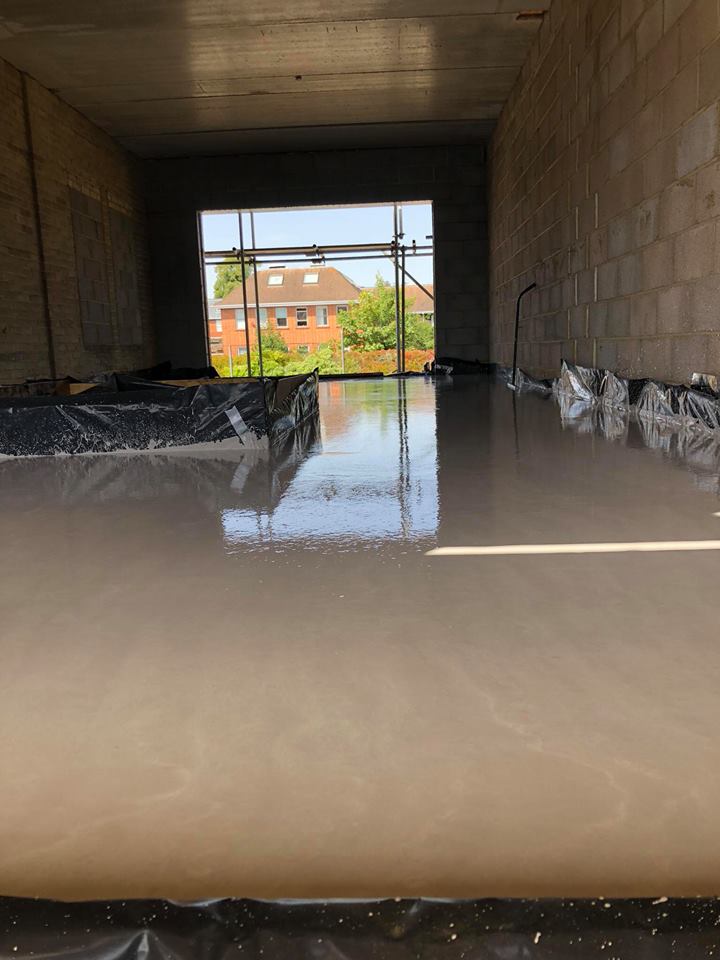
Although SLS are very accurate with there measurements we sometimes will have material left over which will need to be put in a washout area along with dirty water used to clean out our pump and hoses. We recommend you either line a skip with membrane to avoid spillages out of the bottom as often skips are riddled with holes or you build a washout area of about 2m sq and 500mm deep, again lined with membrane. This can easily be broken up the following morning and put in the skip or bagged.
Unfortunately if these steps aren’t carried out properly then this may mean the screed will not be able to be poured and will therefor you will occur a cancellation fee.
Post Installation Guide
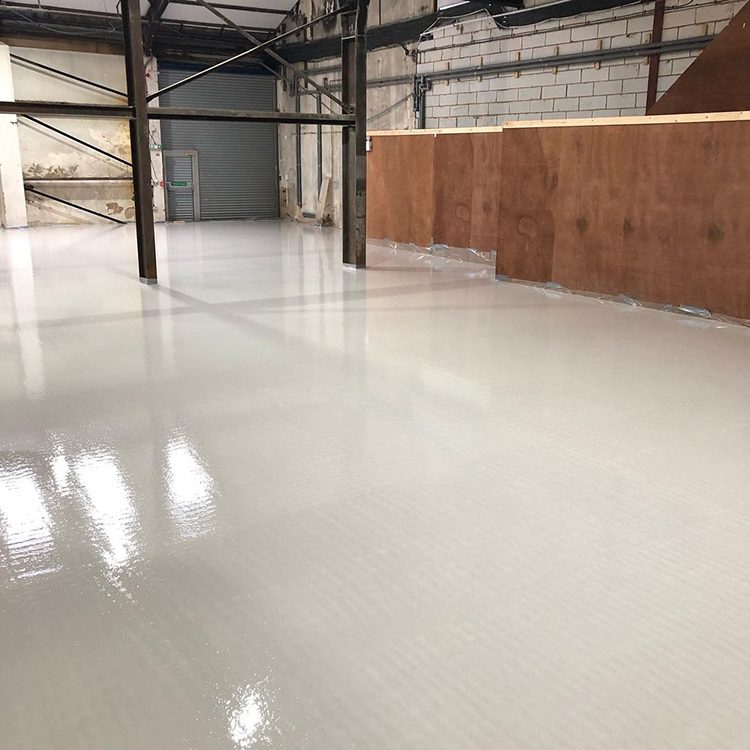
SLS screed is a high quality free flowing, self compacting anhydrite floor screed which offers huge benefits to all aspects of a construction project, including screed installers, builders, underfloor heating designers, main contractors and clients. It is important to pay attention to the treatment of the liquid screed after it has been installed in order to ensure that the maximum benefits can be extracted. It is equally important that follow-on trades understand the material and how it should be treated in order to ensure that subsequent floor coverings remain trouble free.
SLS screed, having been installed into a suitably sealed building envelope, should be protected from ingress of water and extremes of temperature. External windows and door openings should remain closed in order to allow the screed to set. The screed may be trafficked by light foot traffic after 24 to 48 hours from installation. SLS screed is self-curing and therefore does not require a curing membrane. The finished screed should not be excessively heated during this period, although keeping the environment at or around 20°C is beneficial. Significant air movement across the screed should be avoided in order to reduce the risk of plastic shrinkage cracking.
After 48 hours the liquid screed is ready to begin drying. It is of significant benefit at this stage to provide as much ventilation as is reasonably practicable, whilst maintaining protection for the screed from ingress of external water. Windows and doors can remain open for as long as possible, assuming conditions allow, during the working day. This will help to provide good air exchange to remove moisture from the air above the screed, and allow the residual moisture to escape. After 72 hours dehumidifiers may be introduced to assist the drying process if desired. Between 72 hours and 7 days any surface laitance should be removed if present by lightly sanding with a rotary floor sander and medium grit sanding disc or other suitable means of removal. Foot traffic can continue during this period.
The liquid screed can now be loaded and the work area returned to full service. Underfloor heating can be commissioned and run and unlike cement based screeds which cannot be heated for 28 days or force dried at all, SLS screeds can be force dried either using the underfloor heating, or using space heaters and fans. In either case it is important to remove the moisture from the air above the screed either by ventilation, extraction or dehumidification in order to allow the screed to dry properly. This assists greatly with early preparation for floor coverings. If space heaters are used these should not be of the fossil fuel variety e.g. gas burners as the burning of gas emits moisture back into the air reducing the benefit of heating significantly. Electrical or forced air movement heaters are suitable. Protection during the remainder of the construction period should continue in order to protect the liquid screed from re-wetting which could delay the drying period. It is not however desirable that the screed should be covered
with impervious sheeting during construction.
Underfloor heating commission
The underfloor heating should be commissioned at this point and run in accordance with the following:
Once the screed is at least 7 days old
- Switch on the heating system to run at a flow temperature of 25°C, or the minimum allowable by the system, and leave for three days
- Increase the flow temperature in 5°C increments per day up to a maximum of 55°C. Leave at this temperature for a minimum of 3 days (typically 7 days if force drying)
- Reduce the flow temperature by 5°C per day down to 25°C before switching off and allowing to cool (typically for 48hours) prior to moisture testing
Prior to Floor Covering Installation
In accordance with the relevant national standards for floor coverings the surface of the screed should be inspected and should satisfy the following:
- It should be clean and free from chemicals likely to interfere with adhesion
- It should be sound, hard and free from fractures other than planned joints
- It should be free from dust, construction debris and loose surface contamination e.g. mud, building adhesive and bricklaying mortar
- It should be suitably dry or an approved method of moisture management such as a damp proof membrane or uncoupling technology employed (see additional notes)
- Any underfloor heating system must have been commissioned and run
Moisture testing is carried out using a suitable approved method such as a flooring hygrometer or carbide bomb test. Once dry the floor should cleared of any gross debris and then thoroughly vacuumed to remove any small loose dust and debris. Damp proof membranes can be used on SLS screeds, subject to them being unheated, below 1.5% moisture and them having achieved sufficient strength to satisfy the mechanical requirements of the application (minimum 28 days old). Due to the potential inaccuracies of using hygrometers at high humidity levels a direct measurement should be used such as Carbide Bomb or oven dried sample. If the floor requires priming any primer should be selected for its suitability for use with calcium sulphate or anhydrite screeds.
If a smoothing compound is to be used it should ideally be one made using calcium sulphate although subject to suitable priming one based on Portland cement could be used. If a cement based smoothing compound is to be used it is often beneficial to select a water dispersible epoxy primer. If the floor is to be tiled a flexible adhesive based on calcium sulphate is likely to offer the most robust combination. Again, subject to suitable priming, it is possible to use an adhesive based on Portland cement.
SLS screeds are also suitable to receive epoxy resin toppings subject to suitable preparation and priming. Alternatively it may be desirable to use a
proprietary uncoupling membrane. These are available for both soft flooring such as vinyl or for tile surfaces. It is a recommendation of BS 5385 that natural stone tiles should be uncoupled from heated screeds. The manufacturers of SLS screeds do not generally manufacture or supply primers, adhesives, damp proofing membranes or uncoupling technology. Whilst advice is based on sound principals and qualified expertise it is recommended that in all instances the relevant manufacturer’s advice should be followed in order to ensure suitable warranties are in place.
Floor Coverings Pre Installation Guide
At Southern Liquid Screed®, we pride ourselves on the quality and accuracy of information and advice we offer to our customers.
Unfortunately there is a considerable amount of misinformation or misunderstanding about the preparation of floor screeds to receive floor coverings. This is particularly true of calcium sulphate screeds. It is true to say that some calcium sulphate screeds leave an obvious, friable and loose laitance on the surface, which needs to be removed.
This is usually achieved by means of light sanding using an STR floor sander with a medium, or 60grit paper, prior to the application of floor covering. The amount of laitance will depend on the mix design at a local level (available sands etc) and it is generally accepted say that this laitance is only an issue from an aesthetic point of view.
Good practice dictates that all flooring substrates should receive a light sanding, and vacuuming to remove dust and debris, as part of floor preparation prior to the installation of floor covering. Furthermore, most adhesive manufacturers will recommend sanding or abrading the surface of all substrates before the application of their adhesives.
These recommendations also include sand/cement screeds and even concrete. It is said that sanding the surface of the screed (or other substrate), not only cleans the floor of dirt and debris from the build process, but opens up the surface to allow the penetration of primers. It also provides a “key” for the adhesive to grip onto. It can be seen from the above that regardless of the presence of any laitance, sanding and vacuuming, is part of the floor preparation process in order to receive floor coverings.
Therefore it is wrong to state that calcium sulphate screeds require sanding when other screeds do not. It is however correct to say that any laitance on the screed will be removed during the floor preparation process, and since the floor is to be sanded anyway, this laitance is not an issue. The floor coverings contractor in general, will have the necessary expertise to determine the level and nature of substrate preparation required for any given floor covering.
Additionally, the suitability of the preparation is likely to affect the floor layers ability to offer a warranty. As sanding of the screed is considered by the relevant trade bodies as part of the general floor preparation requirements, it is extremely important to consider carefully who takes contractual responsibility for the sanding operation.
Where surface moisture levels are below 95% relative humidity and at least seven days old, the Norcross Pro-Gyp Fast Track System may be used in accordance with manufacturers instructions. This will reduce the length of time before the install of floor coverings.


